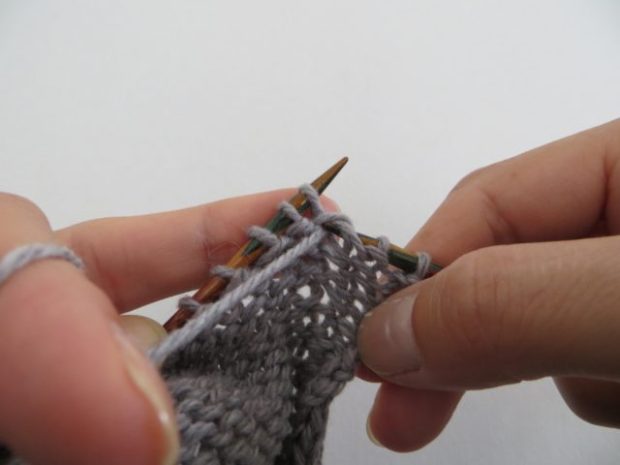
As promised in the last post, I’m going to show you the purl versions of KRL and KLL, called just PRL and PLL 🙂
The principle is the same (if you don’t know KRL and KLL, please read the last post!). Instead of knitting, you purl into the stitch just below the stitch next to which you increase 😉
Purl Right Loop = right-leaning purl increase
1. As in the KRL example, I purled 2 sts and am going to increase right next to the third stitch.

2. Insert your right hand needle into the head of the stitch just below the next stitch.

3. And purl it!

4. Here you have a new purled stitch. You just have to purl the next stitch normally!

Purl Left Loop = left-leaning purl increase
1. As at the other end of work, I gonna make one next to the third to last stitch. I’ve just purled this stitch, leaving 2 sts at the end.
Since the third stitch is already worked, the stitch you purl into is 2 rows below the stitch just worked.

2. Insert your left hand needle into the head of this stitch from the bottom.

3. Then, purl this loop on the left needle.

4. Here we’re getting a new purl stitch!

They are quite easy to use too, because with KRL/PRL and KLL/PLL, you just knit or purl the right loop at the right end of the work (beginning of row) and the left loop at the left end of work!
And I gonna show you another curiosity of these increases 😉
If you use them at every row, they raise the unworked side of the sts you increase into, and used side by side, they create an interesting effect.
Here’s a photo 🙂

I worked from the bottom of photo up, with KRL & KLL side by side. The left loop of KRL and the right loop of KLL are raised and they look like a column of stitches in the opposite direction to that of work. Interesting, isn’t it?
In conclusion, use them with abandon!

