German short rows technique began to be used around 2013 in English knitting patterns, and has become so much popular that most patterns using Stockinette stitch and published recently use this technique.
The number one reason of this popularity is its simplicity. Unlike wrap and turn which seems to require some steps to turn and to resolve the gap, German short rows’ operations look simpler. Let’s see if it is true with pictures.
RIGHT SIDE TO WRONG SIDE
I always use this terms to disambiguate which side you are working, but some patterns call the steps below just “right side”, though all the steps happen on the wrong side!
Knit to the stitch indicated (to last 4 sts in this example) and turn work. The wrong side is in front of you.
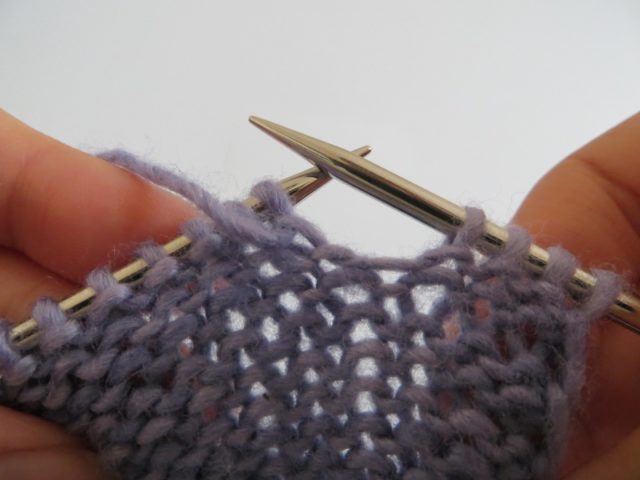
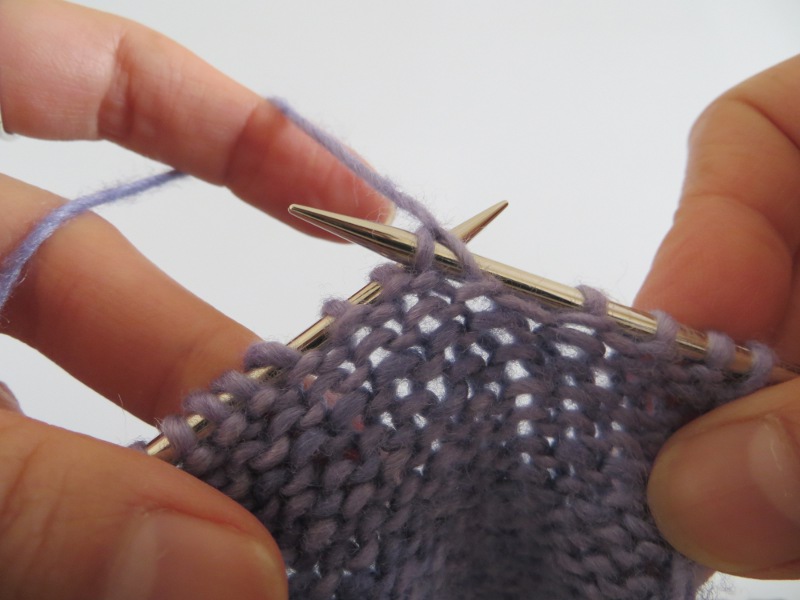
With your working yarn in front, slip the next stitch and pull the yarn to the back of your work. You are going to have a stitch like this, with double legs.
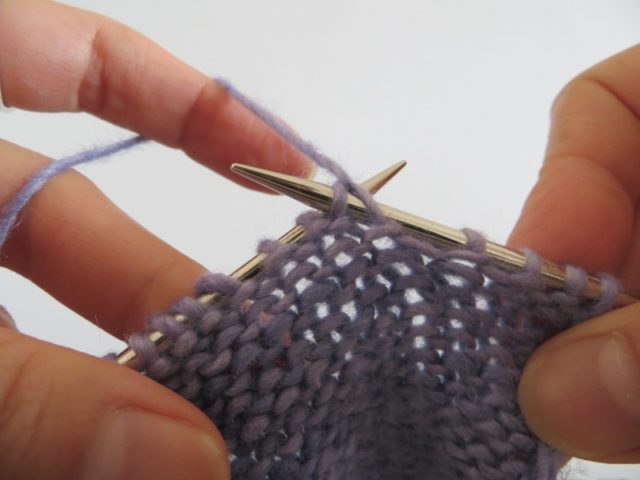
This step is usually called “make DS” – make double stitch -, because the stitch turned over on the needle looks doubled or divided.
Then, bring the yarn in front of your work, making sure that the divided stitch doesn’t return to the normal position – this is the most important point of German short row -, and purl the remainder of the row. Here the next stitch is purled to secure the DS.
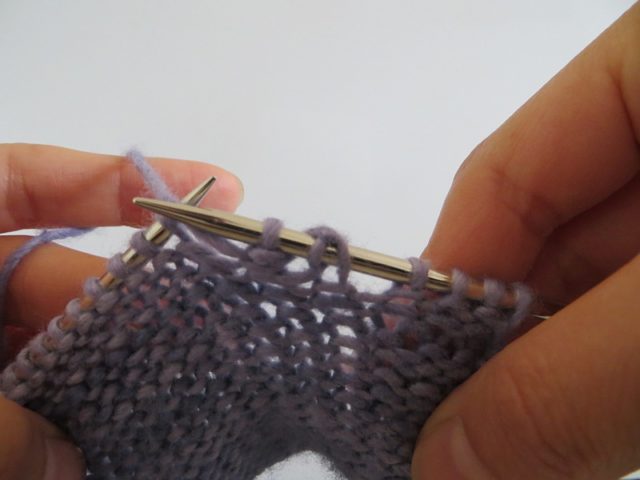
And to resolve the gap, get back to the double stitch which should look like this.
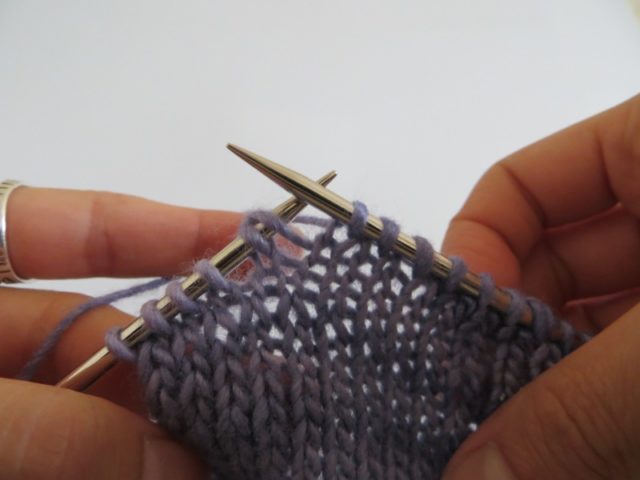
And knit the two legs of the DS together, as if to k2tog. And that’s all. Quite simple, huh?
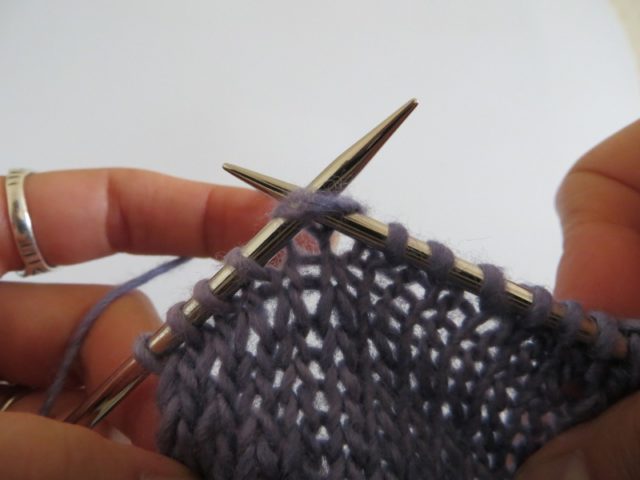
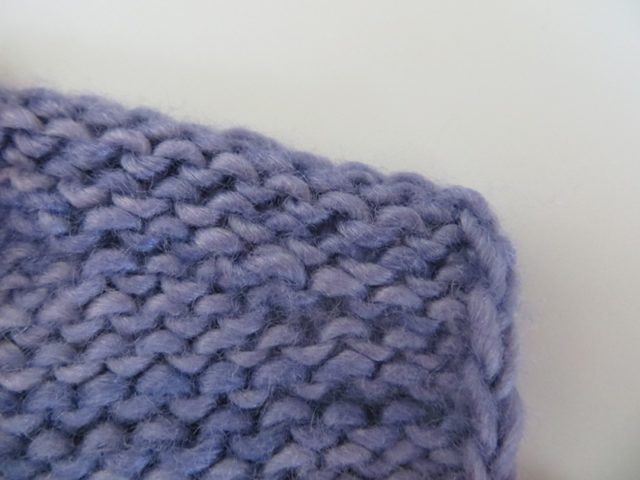
Here is the DS seen from the wrong side. Looks very nice 🙂
WRONG SIDE TO RIGHT SIDE
As for the opposite side of the work, the steps described below can be called “Wrong side” in some patterns (though all the steps happen on the right side).
Purl to the stitch indicated in your pattern (to last 4 sts here) and turn your work to the Right side.
You’re gonna do the same thing as on the opposite side of work, but as you have purled the row and turned your work, the yarn is in the back of work. So bring your yarn to the front.
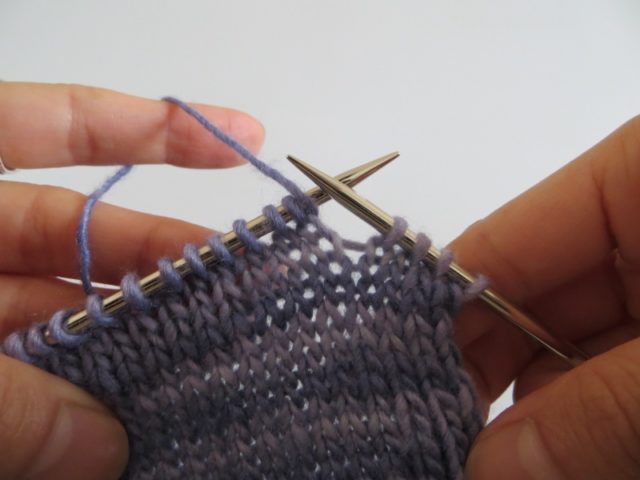
Then, slip the next stitch and pull the yarn to the back. The stitch is divided/doubled.
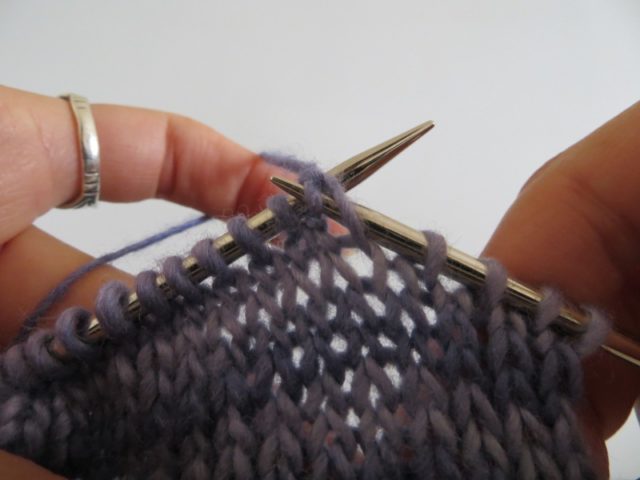
The yarn is now in the back of work, and you are ready to knit the remainder of the row.
To resolve the gap, get back to the DS which looks like this.
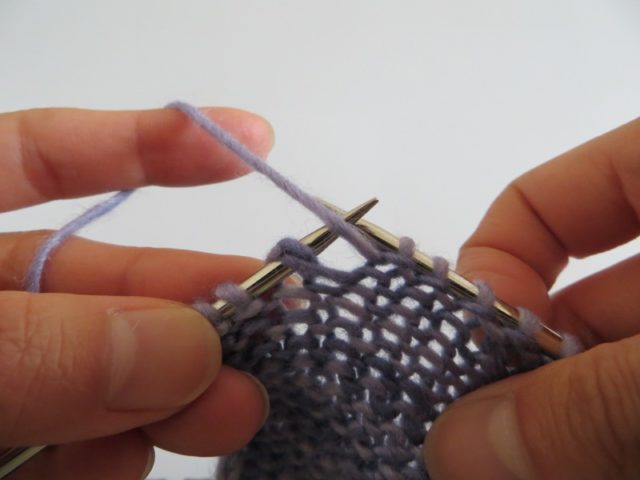
And purl two legs together.
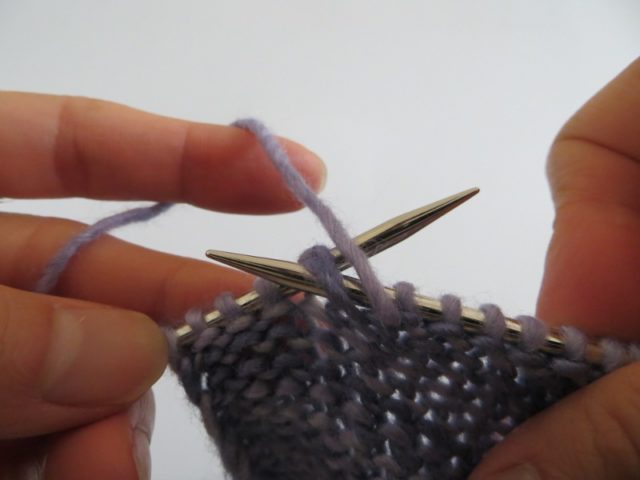
Here is the result seen from the WS.
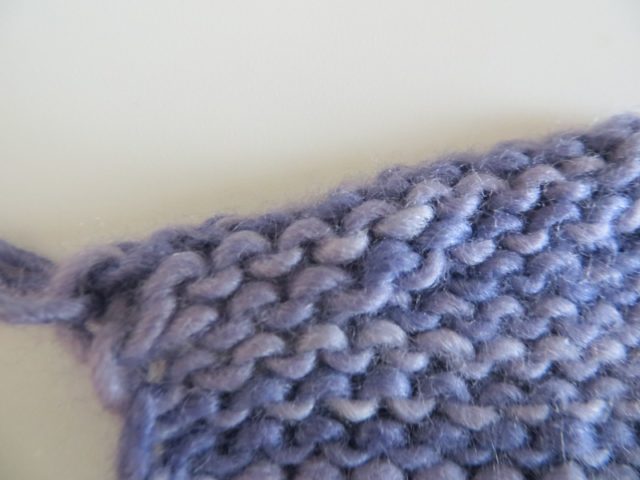
I said that the number one reason of the popularity is its simplicity and I hope you’ve seen why with this tutorial. But there is also the number two reason: its finish. German short rows give a smoother slope than W&T short rows, and here is why.
This chart shows the stitches you obtain with the classic W&T short rows. You have 2-row stairsteps at each turn.
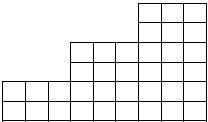
And this one shows the stitches you obtain with German short rows. You can see that you have 1 fewer row at each turn, thus obtain a smoother slope.
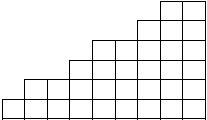
It’s valuable when you need to have smooth slopes on shoulders, neckline, or rounded hem, etc.
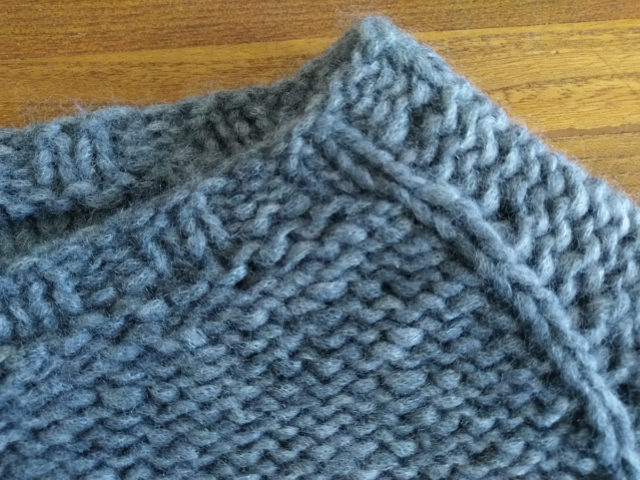
German short rows are also useful for reverse stockinette garments. The loops connecting rows are not very noticeable on the “wrong” side. And this picture of a neckline – from my newest design Recto Verso sweater – can illustrate the point 🙂
I think this should be my last post of the series on short rows, unless we discover another simpler and nicer method. If you haven’t read the other posts, take a look at them to know how to take advantage of other methods:
Japanese short rows?
Japanese Wrap and turn
classical Wrap and turn
The conclusion is that we should use the most adapted method to what you are knitting!
Do you find this post helpful? Please consider supporting me if you want to read more helpful posts. Thank you 💜
![]()

Excellent description for German Short Rows……thank you.
Thank you for leaving a comment! happy to know it helped you 🙂